Our systems ship tarrif free

The Art of Yeast Washing for Homebrewers
February 18, 2024 9 min read
The Art of Yeast Washing for Homebrewers
Homebrewing is an intricate dance of science and craft. From selecting the finest ingredients to meticulously controlling fermentation temperatures, every step shapes the outcome of your brew. However, one often overlooked aspect is the yeast itself. Often referred to as the "magical ingredient" in beer, yeast plays a crucial role in not just fermenting the sugars but also imparting unique flavors and aromas. To maximize the potential of your brews, it's time to delve into the art of yeast washing.
Understanding the Basics of Yeast Washing
Brewing is a living process, and yeast is the workhorse that transforms sweet wort into the elixir we love. Before we dive into yeast washing, let's first understand the vital role yeast plays in brewing.
The Role of Yeast in Brewing
Yeast is a microorganism from the fungi kingdom that consumes sugars and produces alcohol and carbon dioxide as byproducts. This process, known as fermentation, gives beer its alcohol content, carbonation, and complex flavors. Additionally, yeast influences the mouthfeel, aroma, and overall character of the beer, making it a crucial element in the brewing process.
What is Yeast Washing?
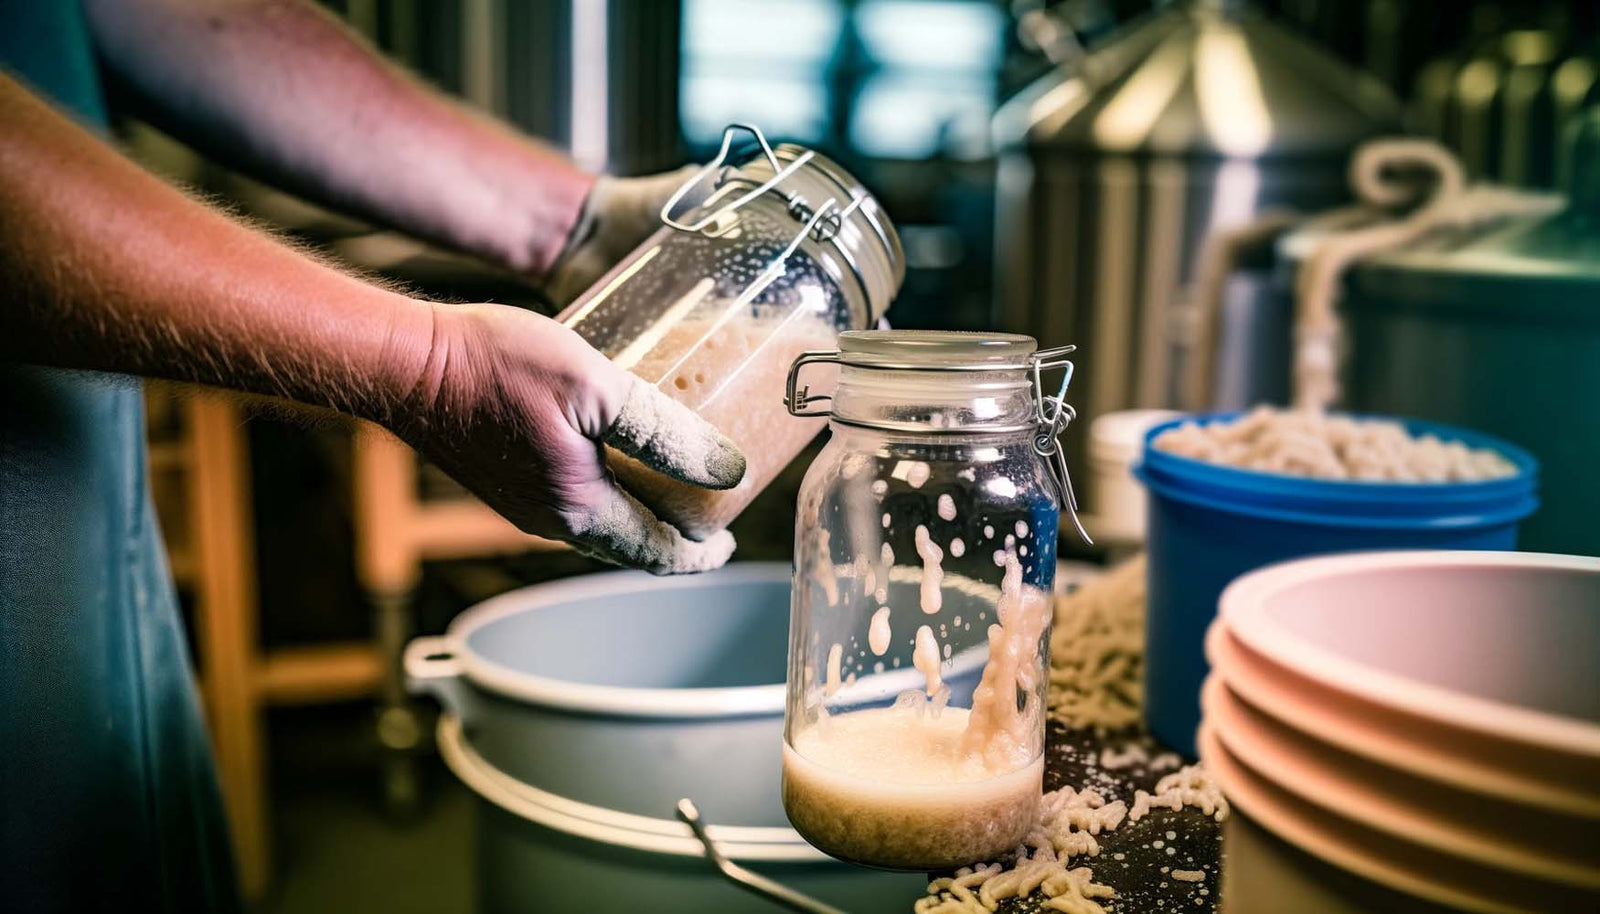
Yeast washing is a technique used by homebrewers to harvest and reuse yeast from a previous fermentation. It involves separating and cleaning the yeast cells from the trub, hops, and other sediment that settle at the bottom of the fermenter. By practicing yeast washing, brewers can save money, maintain consistency, and even experiment with unique yeast strains.
Now, let's delve a little deeper into the process of yeast washing. After the fermentation is complete, the brewer carefully transfers the beer from the fermenter to another vessel, leaving behind the layer of sediment at the bottom. This sediment, known as trub, consists of spent yeast cells, hop particles, and other solids that have settled during the fermentation process.
Once the beer has been transferred, the brewer can then proceed with the yeast washing process. First, a sterile container is prepared, usually a mason jar or a sanitized flask, where the harvested yeast will be stored. The brewer then carefully pours the trub and remaining beer into the container, being cautious not to disturb the sediment too much.
After allowing the mixture to settle for a while, the heavier trub particles will sink to the bottom, while the yeast cells will remain suspended in the liquid. The brewer can then carefully decant the liquid, leaving behind the majority of the trub and retaining the yeast cells. This process may need to be repeated a few times to ensure a clean separation.
Once the yeast has been separated from the trub, it is important to clean and rinse the yeast cells to remove any remaining impurities. This can be done by adding sterilized water to the container and gently swirling it to mix with the yeast. After allowing the mixture to settle again, the water can be decanted, leaving behind cleaner yeast cells.
Now that the yeast has been washed and cleaned, it can be stored in the refrigerator for future use. Proper storage is crucial to maintain the viability and health of the yeast, and many homebrewers use specialized yeast storage containers or vials to ensure the yeast remains in optimal condition.
By practicing yeast washing, homebrewers can not only save money by reusing yeast from previous batches but also maintain consistency in their brews. Additionally, yeast washing opens up a world of possibilities for experimentation, as brewers can collect and store unique yeast strains to create truly unique and flavorful beers.
The Benefits of Yeast Washing for Homebrewers
Yeast washing offers a range of benefits that go beyond the mere cost-saving aspect:
Cost Efficiency in Homebrewing
When brewing multiple batches or experimenting with different recipes, yeast expenses can quickly add up. By reusing yeast through washing, you can significantly reduce the cost of purchasing new yeast for each batch. With careful handling and maintenance, a single yeast strain can be used for multiple fermentations, stretching your brewing budget further.
Enhancing Flavor Profiles
Yeast strains undoubtedly influence the flavor and aroma of beer. By reusing a specific yeast strain through washing, you can preserve its unique characteristics and impart consistency to your brews. This allows you to refine and fine-tune your recipes by focusing on other variables such as hop additions or malt profiles, knowing that the yeast remains constant.
But let's dive deeper into the fascinating world of yeast washing and explore some additional benefits that may surprise you.
Improving Fermentation Efficiency
Yeast washing not only saves you money and enhances flavor profiles, but it can also improve the overall fermentation efficiency of your homebrew. When yeast is reused, it becomes more acclimated to the brewing environment, resulting in a faster and more vigorous fermentation process. This increased efficiency translates into shorter fermentation times, allowing you to enjoy your delicious creations sooner.
Furthermore, by washing and reusing yeast, you have the opportunity to select and cultivate the healthiest and most robust yeast cells. This careful selection process ensures that only the strongest yeast cells are used in subsequent batches, leading to more consistent and reliable fermentation outcomes.
Expanding Your Brewing Repertoire
Yeast washing opens up a world of possibilities for homebrewers who are eager to experiment and push the boundaries of their craft. With a collection of different yeast strains at your disposal, you can explore a wide range of beer styles and create unique flavor profiles that will impress even the most discerning beer connoisseurs.
Imagine the satisfaction of brewing a traditional Belgian Tripel with a yeast strain that has been carefully washed and reused, allowing you to capture the authentic flavors and aromas that define this classic style. Or perhaps you want to venture into the world of sour beers and experiment with various wild yeast strains. With yeast washing, you can confidently embark on these brewing adventures, knowing that you have the flexibility and resources to bring your creative visions to life.
Necessary Equipment for Yeast Washing
Before embarking on the journey of yeast washing, it's essential to gather the following brewing tools:
Gathering Your Brewing Tools
1. A clean and sanitized conical fermenter with a valve at the bottom
2. Sterile containers like mason jars or sanitized glass bottles with airtight lids
3. A small funnel for decanting and transferring yeast
4. A spray bottle filled with a food-grade sanitizer
Sanitization Essentials
While brewing, maintaining a clean and bacteria-free environment is vital. Make sure to sterilize all your equipment, including the fermenter, containers, funnel, and spray bottle, with a food-grade sanitizer. This step is crucial to prevent contamination and ensure the yeast is the only microorganism thriving in your brew.
Now that we have covered the necessary equipment, let's delve into the importance of each item in the yeast washing process.
First and foremost, a clean and sanitized conical fermenter with a valve at the bottom is crucial for yeast washing. This vessel will be used to collect the yeast sediment from the primary fermentation. The spigot allows for easy separation of the yeast from other unwanted particles, ensuring a pure yeast culture for your next brew.
Next, let's talk about the sterile containers. Mason jars or sanitized glass bottles with airtight lids are ideal for storing the washed yeast. These containers provide a safe and controlled environment for the yeast to remain viable until your next brewing session. It is important to note that airtight lids are essential to prevent any contamination from entering the container, which could compromise the quality of the yeast.
A small funnel is a handy tool for decanting and transferring yeast. It allows for precise pouring, minimizing the risk of spillage and contamination. When handling yeast, precision is key to maintain its integrity and ensure a successful fermentation process.
Lastly, the spray bottle filled with a food-grade sanitizer plays a vital role in maintaining a clean brewing environment. Before and after each use, it is crucial to sanitize all equipment to eliminate any potential bacteria or microorganisms that could hinder the yeast's performance. A simple spray and wipe-down with the sanitizer will help keep your equipment in top-notch condition.
Remember, attention to detail and proper equipment are the building blocks of successful yeast washing. By following these guidelines and using the necessary tools, you can ensure a healthy and vibrant yeast culture for your future brews.
Step-by-Step Guide to Yeast Washing
Now that you have the necessary tools and a sanitized brewing space, let's walk through the yeast washing process:
Preparing the Yeast
Once fermentation is complete, transfer the fermented beer to secondary fermenters or kegs, leaving the sediment and yeast cake behind. Let the fermenter settle undisturbed for at least 24 hours to allow the trub and the yeast to separate. This period is essential for effective yeast washing.
The Washing Process
1. Position the sanitized mason jars or glass bottles under the spigot of the fermenter to collect the yeast slurry as you open it.
2. Carefully open the spigot, allowing the yeast and a small amount of liquid to flow into the containers. Be cautious not to disturb the sediment layer.
3. Once the containers are filled, seal them tightly to prevent air or contaminants from entering.
4. Place the containers in the refrigerator and let them chill for at least 4 hours. This cooling process will facilitate the separation of the yeast from the other sediments.
5. After chilling, you will notice the yeast has settled into distinct layers, with a clear liquid on top. Gently decant the liquid, being careful not to disturb the yeast layer at the bottom.
Now, let's dive into some additional details to enhance your understanding of yeast washing:
During the chilling process, the yeast cells become dormant and settle at the bottom of the containers. This separation is crucial as it allows you to remove any unwanted impurities and collect a purer yeast sample. The clear liquid on top, known as the supernatant, contains various compounds that are not desirable for yeast propagation. By decanting this liquid, you ensure that only the healthy yeast cells are retained.
It's important to note that the viability of the washed yeast can vary depending on the strain and the conditions in which it was fermented. While some yeast strains can remain viable for several weeks or even months, others may have a shorter lifespan. Therefore, it is advisable to use the washed yeast within a reasonable timeframe and consider making a starter to verify its vitality and fermentation activity before pitching it into a new batch of beer.
Storing the Washed Yeast
The cleaned and separated yeast can now be stored in the sanitized containers. Ensure the containers are airtight and label them with the yeast strain and date of collection. Storing the yeast in the refrigerator at around 34-40°F (1-4°C) helps maintain its viability for an extended period. The cold temperature slows down the metabolic activity of the yeast, preserving its vitality. However, it's worth noting that over time, the yeast's viability will gradually decline, so it's best to use it within a few weeks for optimal results.
By practicing yeast washing, you not only save money by reusing yeast from previous batches but also have better control over the quality and consistency of your fermentation. It's a valuable technique for homebrewers who want to experiment with different yeast strains and ensure the best possible outcome for their beers.
Troubleshooting Common Yeast Washing Issues
While yeast washing is a relatively straightforward process, occasionally, issues may arise:
Identifying Contamination
Contamination can occur if unsanitary practices are followed during yeast washing or if bacteria or wild yeasts are present in your brew. Signs of contamination include foul smells, off-flavors, or inconsistent fermentation. To mitigate this concern, always sanitize thoroughly and pay attention to any indications of spoilage before reusing the yeast.
Overcoming Yeast Viability Problems
Over time, yeast cells gradually lose their vitality, resulting in poor fermentation performance or sluggish activity. To combat this issue, consider creating a yeast starter before adding the washed yeast into your fresh brew. This allows you to confirm its viability while also giving the yeast a chance to rejuvenate and build up their population.
By mastering the art of yeast washing, homebrewers can elevate their brewing game to new levels. Not only can you save money, but you can also maintain consistency and explore the vast world of yeast strains. So, next time you raise a glass of your homebrewed masterpiece, take a moment to appreciate the unsung hero of the process – the yeast!
Ready to take your homebrewing to the next level with the art of yeast washing? Bräu Supply is here to support your brewing journey with our innovative and high-quality brewing systems. Whether you're looking for the convenience of the Unibräu, the advanced capabilities of the Unibräu Pro, or the efficiency of our HERMS system, we have the perfect setup to complement your brewing skills. Our 304 stainless steel brew kettles and Unitank jacketed fermenters, along with a vast selection of accessories, ensure you have everything you need to brew with precision and ease. No customizations are necessary; our products are designed with the homebrewer in mind. Check out our products today and discover how Bräu Supply can help you achieve brewing excellence.
More Articles on Fermentation
Pros and cons of stainless conical Unitank fermenters for homebrewing
Mastering the cold side of brewing: a comprehensive guide
What is a fermenter: a comprehensive guide to understanding the process
Troubleshooting fermentation problems in brewing: a comprehensive guide
Unlocking the magic of cold side flavour infusion in brewing: techniques and troubleshooting
The art of lagering: a guide to perfecting the cold conditioning process
Subscribe
Sign up to get the latest on sales, new releases and more …