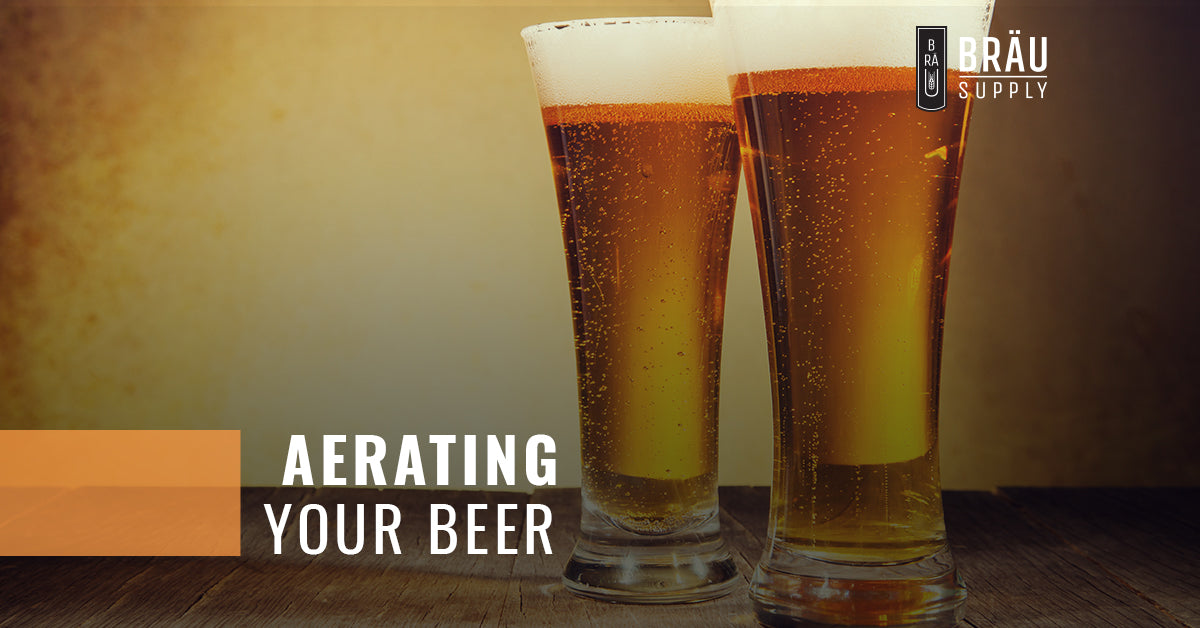

Aerating Your Beer
 For some, the first thing that comes to mind when we say the word “aeration” is the process of digging up little plugs of dirt out of your backyard. While they’re not wrong, in the context of beer, it takes on a much different meaning. Yes, brewers keep aeration in mind when they mix up another batch of delicious homebrewed beer in one of our all-in-one brewing systems. Today, Bräu Supply will explain what aeration is and why it’s an important part of the homebrewing process.
But What Does Aeration Even Mean?
Let’s get our definitions straight before we get too much further. Generally speaking, aeration is the process in which air moves through, or is mixed with, a liquid. In the case of brewing, this is literally moving or exposing your wort to the air, or deliberately agitating your wort to introduce air into the beer.
But Isn’t Oxygen Bad For My Beer?
For the most part, yes, oxygen and beer don’t mix well. Oxygen can lead to your beer becoming stale, lending it that bland, almost papery flavor. Additionally, oxygen can dramatically shorten the shelf life of your beer. However, one critical component of your homebrewing process needs oxygen: the yeast. During the boiling of the wort, the heat and the roiling and bubbling of the mixture itself actually drives most of the oxygen out of the liquid. So, to ensure that your yeast survives and thrives in your beer, you’ll need to reintroduce some of that oxygen back into your beer.
Aerating Your Wort
To keep your yeast healthy, you’ll want to be rather strategic in when you aerate your wort. The preferred time to aerate your wort is as soon as it has cooled. Typically, you’ll aerate your wort during the transfer of the liquid from the kettle to the fermenter. There are three basic ways to aerate your wort:- Splashing: You can add oxygen to your wort by splashing it around a little bit. During the transfer, you can use a siphon that splashes the wort on the side of the fermenter. While it doesn’t introduce much oxygen, it’s better than nothing.
- Agitation: Use a spoon or other similar tool to rapidly stir and whisk the wort. Make sure to use a sterilized implement so you only introduce oxygen and not bacteria into your wort. Agitation is a better way to introduce oxygen, but still doesn’t do much.
- Injection: For those homebrewers feeling ambitious, you can rig a small aquarium pump up to aerate the beer. Other homebrewers use oxygen bottles and regulators to inject air into their wort.

Aerate For Awesome Results
Aeration is an essential part of the homebrew process, as oxygen is needed for your yeast to properly grow and ferment. The right aeration technique can result in more bold and complex flavors in your next beer. Make sure to check the Bräu Supply blog soon, as next time we’ll discuss the effects of oxygen on your beer.
More articles how to brew beer
The ultimate guide to Kveik yeast: Unleashing it's fermentation potential
Revolutionizing home brewing: The simplified art of no sparge brewing
Exploring amber ales: A guide with a twist on the traditional recipe
Mastering cold crashing: Enhancing beer clarity and accelerating the aging process
What is the basic function of the fermenter?
What causes a fermenter to heat up?
The art of lagering: A guide to perfecting the cold conditioning process
Troubleshooting fermentation problems in brewing: A comprehensive guide