Our systems ship tarrif free

Mastering Cold Crashing: Enhancing Beer Clarity and Accelerating Aging Process
January 03, 2024 4 min read
Mastering Cold Crashing: Enhancing Beer Clarity and Accelerating Aging Process
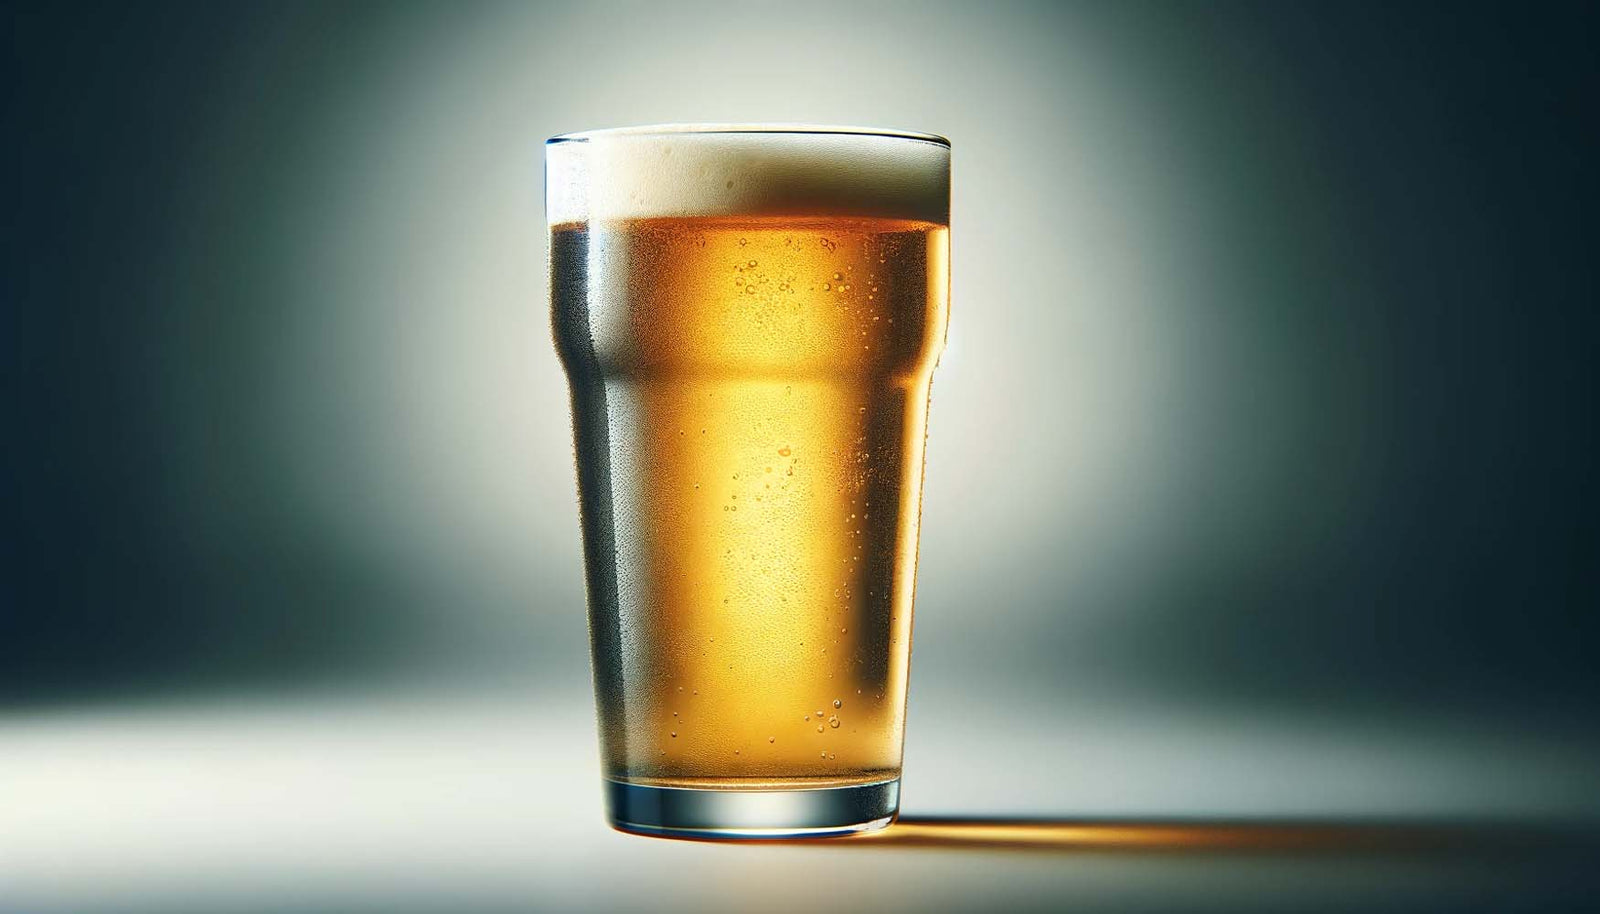
This week, we delve into the benefits of cold crashing your beer, a technique known for enhancing clarity and diminishing the time needed for aging.
The Essence of Cold Crashing
Cold crashing, in essence, is the method of swiftly lowering your beer's temperature before it's bottled, kegged, and carbonated. This usually involves dropping the temperature to just above freezing, typically done when the beer has attained its final gravity.
Originating from the cold aging or lagering process of lager beers, cold crashing is now a prevalent technique in the commercial production of many ale varieties. The primary benefits of cold crashing are twofold: it not only boosts the clarity of your beer but also significantly slashes the aging time required, making it a popular choice in the commercial brewing sector.
How Cold Crashing Functions
The process facilitates the quicker sedimentation of proteins and tannins from the grains. This happens because many solids are less soluble in cold conditions and hence settle faster. Clarity can be further improved with the use of various finings.
A critical aspect of cold crashing is its impact on yeast. When yeast is cold-crashed, it undergoes a survival reaction, leading to "flocculation" - the formation of clumps. These clumps, or "flocs," are larger than individual yeast cells and settle more rapidly, a phenomenon explained by Stokes' law. Stokes' law generally states that particles with a larger radius settle faster. Finings, such as Irish moss, can further enhance yeast flocculation.
Implementing Cold Crashing at Home
While commercial brewers might use a glycol-chilled fermenter to adjust temperatures, home brewers have several options, including using a refrigerator or a temperature-controlled fermenter such as the jacketed Unitank fermenter from Bräu Supply.
Several factors need consideration when cold crashing:
- Ensure fermentation is complete before cold crashing, as crucial biotransformations occur even in the later stages of fermentation. Commercial breweries usually wait for the beer to reach a stable terminal gravity and maintain it for a few days prior to cold crashing.
- The quicker the beer is chilled, the better. Commercial brewers may take about a day to chill their wort; a home fridge or keezer will do it somewhat rapidly, although it might take upwards of 12 hours to reach the desired cold temperatures.
- Aim to chill the beer as close to freezing as possible without actually freezing it. Commercial breweries typically maintain temperatures between 0.5 C and 5 C (33-41 F). Remember, the alcohol in the beer lowers its freezing point slightly below 0 C (32 F).
- The duration of cold crashing varies. While some benefits are noticeable within 24 hours, most brewers prefer a span of several days to a week. This differs from lagering, where cold temperatures are sustained for longer periods.
- Be cautious if using a one-way airlock, as cold crashing can create negative pressure in the fermenter, potentially drawing liquid from the airlock into the fermenter. A two-way (S-shaped) airlock or sanitized foil over the opening can prevent this.
- Typically, dry hopping is done post-cold crashing to maximize aroma preservation, as cold temperatures can impede the infusion of aroma oils. You might consider raising the beer's temperature before dry hopping and bottling.
If you're using a refrigerator or keezer, simply place your fermenter inside, allowing it to cool for a few days. The key is to achieve and maintain the cold temperature required for cold crashing.
For those with a temperature-controlled fermenter, the process is even more streamlined:
- Set the Desired Temperature: Once fermentation is complete, adjust the fermenter's temperature settings to just above freezing. The ideal range is typically between 0.5 C and 5 C (33-41 F).
- Monitor the Fermenter: Ensure that the fermenter maintains this temperature consistently. Most temperature-controlled fermenters allow for precise temperature adjustments, ensuring the beer remains within the optimal cold crashing range.
- Duration: As with using a fridge or keezer, the cold crashing duration in a temperature-controlled fermenter can vary based on your preference. A period ranging from several days to a week is common, but you can adjust based on the specific requirements of your brew.
Using a temperature-controlled fermenter offers precise control over the cold crashing process, making it a preferred method for many home brewers who seek consistent results.
Remember, whether using a refrigerator, keezer, or a temperature-controlled fermenter, the key considerations of cold crashing remain the same: wait until fermentation is complete, aim for rapid chilling without freezing the beer, and be mindful of the duration and any potential pressure changes in the fermenter.
As you explore the fascinating world of fermentation and its critical role in various industries, it's clear that having the right equipment is essential for success. Bräu Supply is at the forefront of innovation, offering a range of high-quality, stainless steel brewing systems tailored to your needs. Whether you're a home brew enthusiast or a microbrewery aficionado, our Unibräu, Unibräu Pro, and HERMS systems provide unparalleled efficiency, value, and quality. Discover the perfect balance of form and function with our modular brew kettles and Unitank jacketed fermenters, designed to make your brewing experience seamless and enjoyable. With Bräu Supply, you're not just purchasing a product; you're investing in a brewing partner that understands your passion for craft and quality. Check out our products today and take the first step towards elevating your brewing journey.
More Articles on Fermentation
https://brausupply.ca/blogs/news/mastering-the-cold-side-of-brewing-a-comprehensive-guide
https://brausupply.com/blogs/news/what-causes-a-fermenter-to-heat-up
https://brausupply.com/blogs/news/what-is-the-basic-function-of-the-fermenter
Subscribe
Sign up to get the latest on sales, new releases and more …